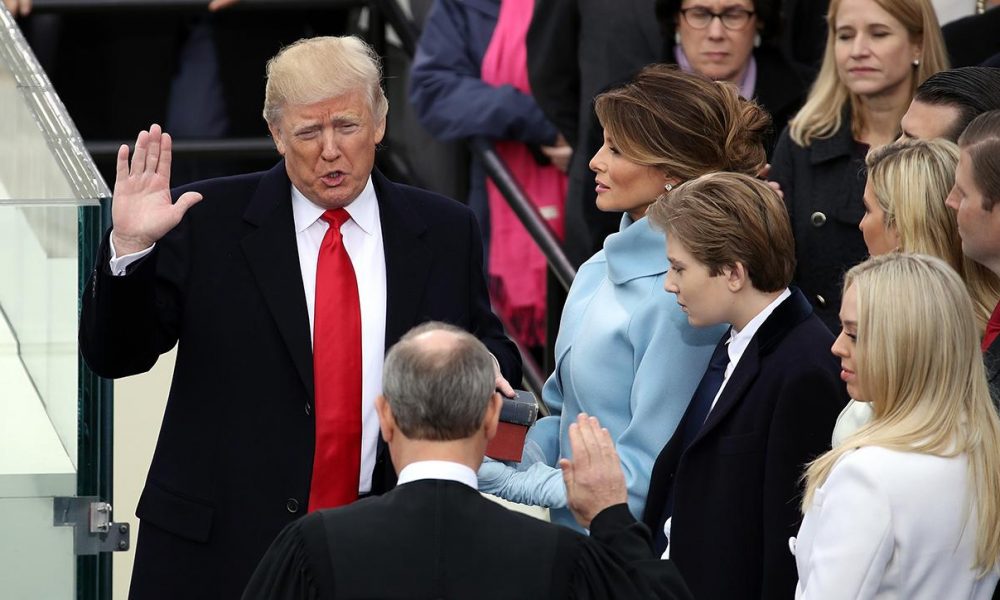
By now, you have seen the jaw-dropping and awe-inspiring 360° picture of Trump’s inauguration that CNN published earlier this week. In the extremely rare case that you have not, here you go. With Gigapixel technology, CNN was able to capture every nook and cranny of the historic moment. But how did they do it? Let’s dive right into it:
First of all, what is a gigapixel?
We’re all familiar with ‘megapixel’ so this will not be hard. A gigapixel image contains 1,000 times the information contained in a megapixel image. This explains why you can easily zoom in to CNN’s gigapixel without losing any detail.
A megapixel (MP) is made up of 1 million pixels; a gigapixel, 1 billion. To put things in perspective, if I am to take a picture with my Nexus 6P’s 12 MP camera, the resulting image will have 12 million pixels — 12 million tiny dots that come together to form one beautiful image. CNN’s gigapixel image therefore has 1 billion tiny dots coming together nicely to form that interactive and zoomable 360° picture.
How are gigapixels taken?
Things are about to get mathematical so brace yourself.
Initially, I mentioned that my 6P’s camera takes 12 MP single shot images. To recap, this means that any picture taken contains 12 million pixels (or dots, for simplicity). Now if I am to take 6 different shots and stitch them together without losing any detail, the resulting image will be a 72 MP image (12 x 6 = 72), which implies that the resulting picture has 72 million pixels, or dots.
Because current technology does not allow one camera to easily capture a single extremely high-res image, gigapixel photos are taken just like we take panoramas on our phones; a high-res digital single-lens reflex (DSLR) camera is used to take multiple shots which are then stitched together using a software.
Stage 1: Capturing
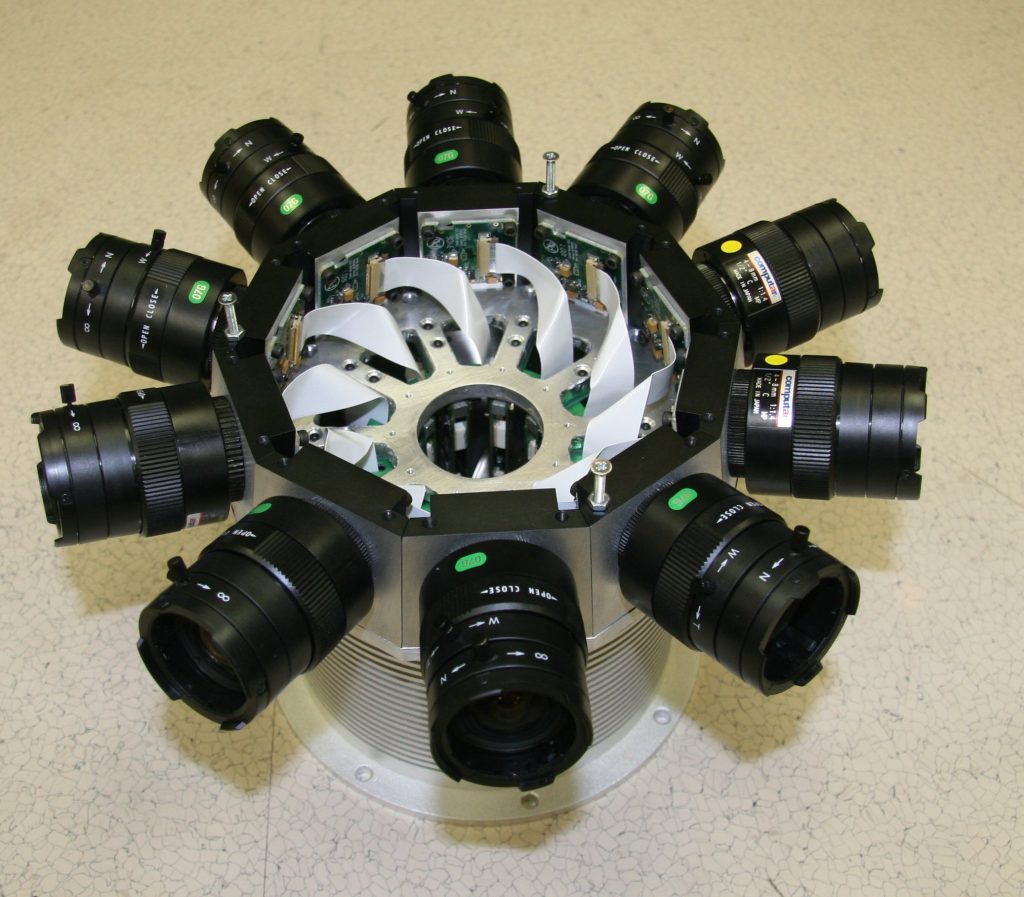
The first step involves capturing pictures. Now, in order to take accurate shots that will not be misaligned during the stitching stage, multiple cameras will be mounted on a rig to capture all angles simultaneously. The image below (from Pinterest) should give you an idea of how the setup is likely to be. Due to the amount of detail in CNN’s gigapixel image, we can conclude their setup was definitely much more complex and included a lot more cameras.
Stage 2: Stitching
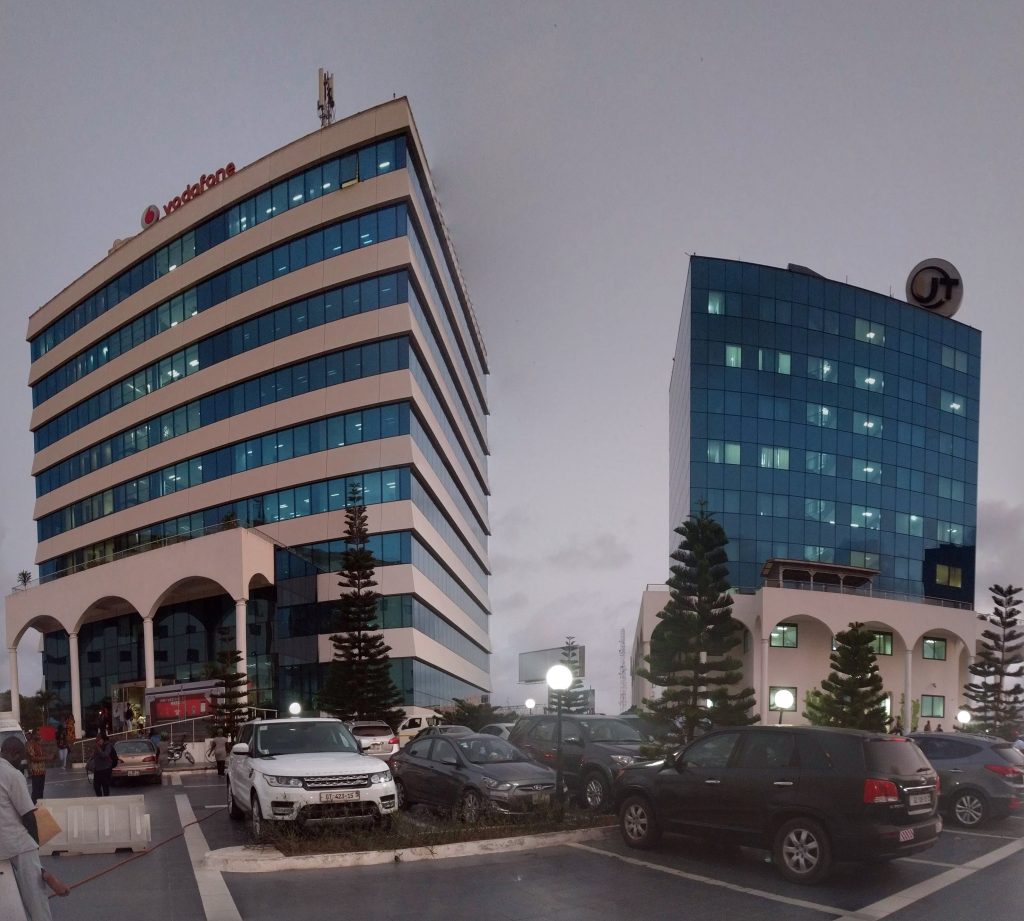
Now that multiple shots of the event has been captured, the second stage involves piecing all the pieces together. All the captured images are dumped into a dedicated image processing software that identifies overlapping photos and begins stitching. The more pictures you stitch together, the more pixels you get. Assuming images are stitched without any loss in detail, then twenty 50 MP images can be stitched together into a gigapixel image. But this is not the case, so in order to get an ultra-high res gigapixel image, about a hundred 50 MP images will do.
P.S: I found out that Google Photos did a pretty good job stitching two images I took some time back together — I did not mean to capture a panorama but Google Photos found overlapping features in the two images I captured and stitched them together.
Step 3: Readying
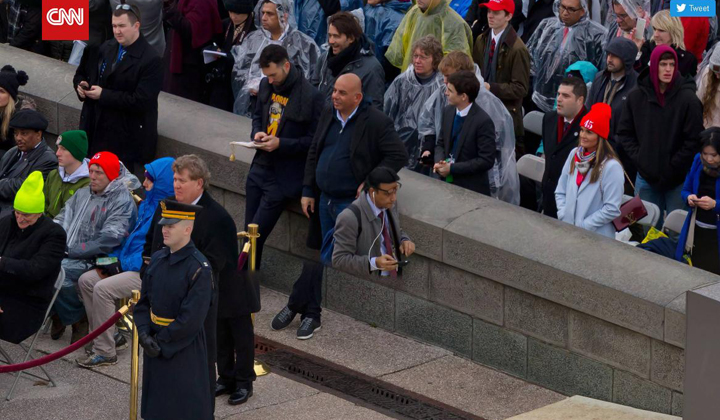
After stitching, the resulting composite image is inspected for errors and blunders and ones that can be corrected are fixed. It is almost impossible to perfectly stitch multiple images into one large composite image. The image below cropped from CNN’s gigapixel image accidentally places this legless man in this frame. But the bigger picture is so beautiful it makes up for these inevitable blunders.
Final stage: Sharing
When all the boxes have been checked, the final image is now ready to be shared with the rest of the world.
So there you have it. If you have additional information about how gigapixels are taken, kindly leave a comment below.
Sources:
Chase Jarvis
Photo Stack Exchange
